What email templates are there for
The email templates are used for emails that will be send to the partners in your platform automatically. These emails are related to the following system events:
A partner needs to confirm his registration, a process know as double opt-in or closed-loop authentication.
You accept a partner’s registration for the platform.
You decline a partner’s registration for the platform.
You accept a partner’s application for an advertiser program.
You decline a partner’s application for an advertiser program.
You assign a new commission model to a partner’s ad space.
You create a new payment entry for a partner.
A partner requests a new password to login the platform.
Because these events are related to the platform, the templates for the emails are configured on a platform level. In the default mode of your platform configuration you will find standard email templates are currently available for English, German, Polish and Spanish. You can edit these templates freely and create new templates for other languages.
How to edit an email template
Make sure you are logged in to your admin UI and go to the administration section in the navigation menu. Click on ‘customization’ in the adminstration section of the main navigation menu and proceed to click on ’email templates’. If you do so, you will see a list displayed containing the language, the ID and the alias of the email templates created for your platform. Further to the right, you will find the time and date of the latest update of the template in UTC+1 in winter and UTC+2 in summer.
To edit a template, click on the icon. If you do so, a panel will open looking more or less like this:

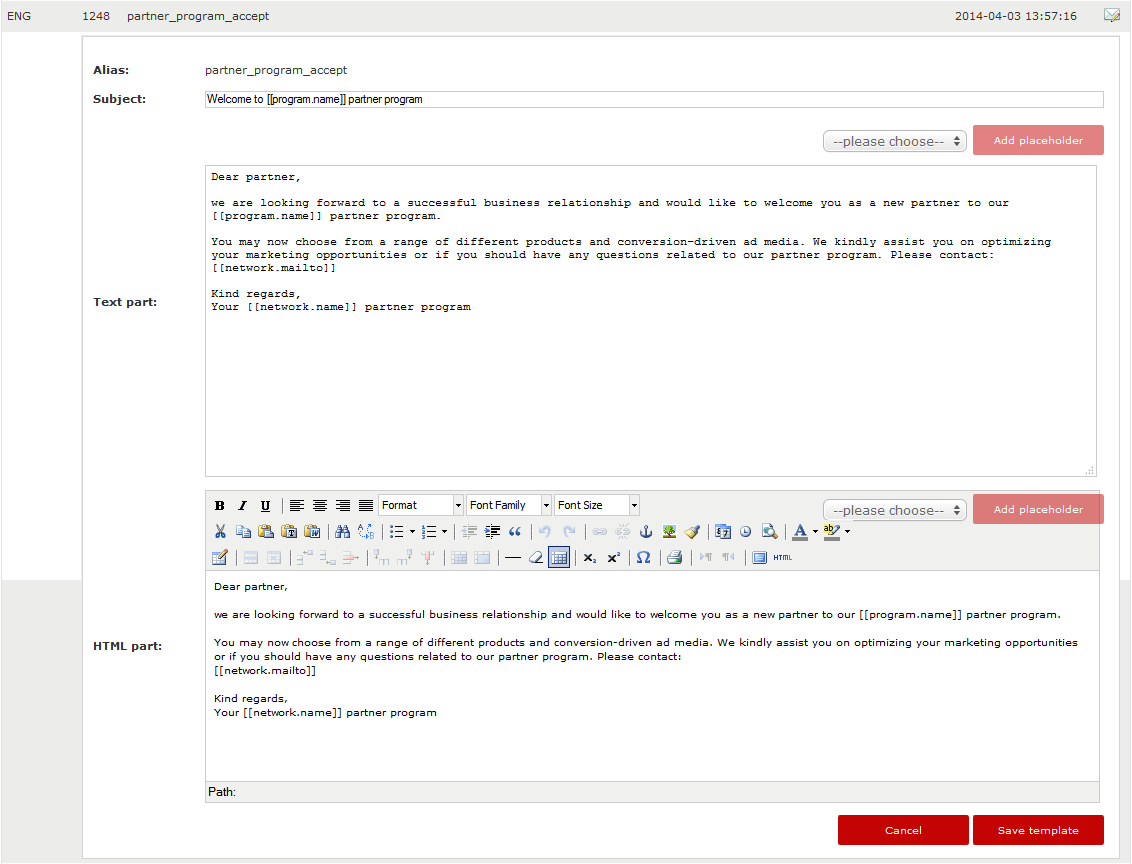
You can edit the following elements:
At the top of the panel, right under the alias, you can find the subject of the email template, i.e. the text that will appear in the subject line when a partner receives the email. As you can see in the picture, you can use one or more placeholders in the subject, such as the name of the advertiser program.
Below the subject, you can find an editor for plain text format of the template. You can adjust the text here freely and add placeholders using the menu and the button in the right corner.
The same goes for the editor of the HTML format of the template further below. Additionally, you can change the font, add links, create tables, insert image, etc. using the menu above the editor for the HTML format. Whatever you do to enrich the HTML format of your template, make sure the content is identical with the plain text version. Furthermore, please remember that this template is used for all partner, regardless of the advertiser programs they are or aren’t participating in. Therefore, it is recommended to avoid using advertiser logo’s and names.
When you are done editing the template, don’t forget to click ‘save template’ in the right lower corner of the panel. If you do this, the panel will close.
How to create a new email template
The possibilities of creating new email templates are necessarily limited. You can only create new email templates related to the system events mentioned above. Furthermore, to make sure partners understand the emails they receive, you can only create a template in one of the languages in which the partner UI is available. Apart from English, German, Spanish and Polish, these are Dutch, French, Italian, Portuguese, Russian and Turkish.
When you want to do this, go through the following steps:
Click on the button ‘create new template’ in the top right corner of the page.
In the small panel appearing now, select the language of the new template.
Proceed to select the alias, i.e. to which system event the template is related.
Click on ‘save’ in the right lower corner of the panel. If you do this, the platform will automatically translate the English version of the existing template with the relevant alias using Google Translate.
Go to the new template in the overview. If you want, you can edit the template following the instructions in the section above.